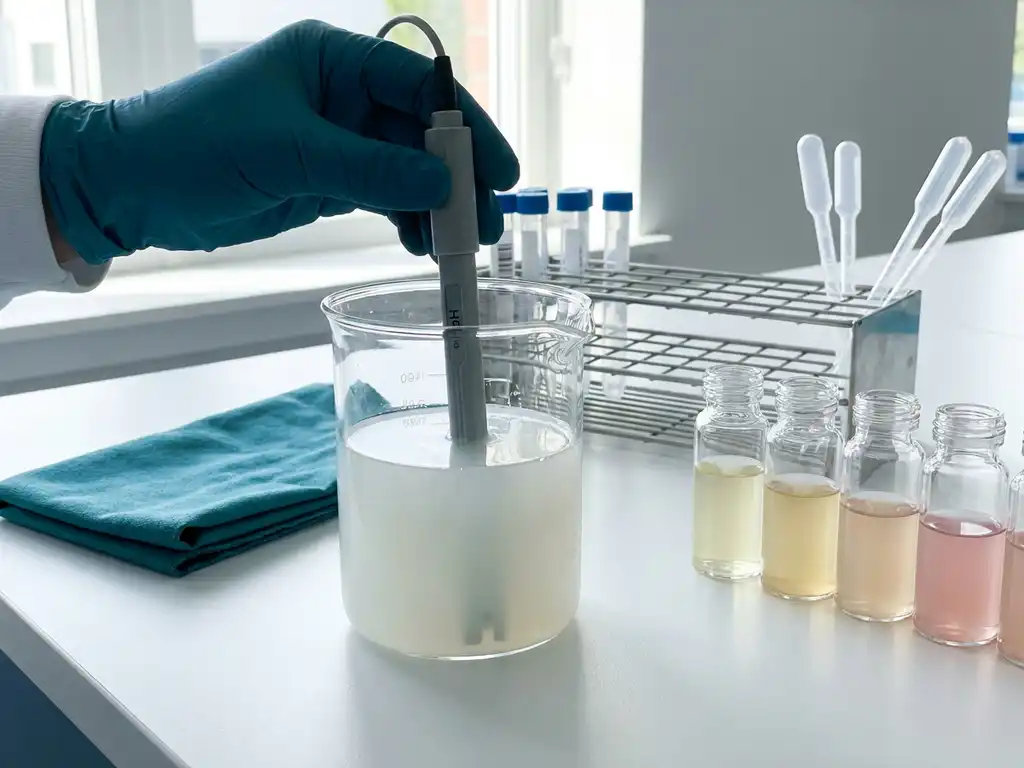
To test probiotic stability across different pH conditions, run a controlled probiotic stability testing plan where the same strain and product matrix are exposed to defined pH points for set times, then quantify survival with a validated viability method. A robust design controls for pH drift, neutralises samples before readout, and includes sequential challenges that reflect simulated gastric fluid testing and intestinal exposure. The sections below cover study design, methods, GI simulation, and common pitfalls.
What does probiotic stability mean across different pH levels?
Probiotic stability across pH means the microorganism maintains viability across pH over a defined exposure, without unacceptable loss of functional integrity. “Stability” is broader than “viability”, and it can include retention of stress resistance and performance after the pH challenge, while viability is simply live cell count or live cell signal.
pH affects proton gradients, membrane integrity, enzyme activity, and protein folding, which can cause sublethal injury or rapid death. Outcomes are strain-dependent (acid and bile resistance varies), matrix-dependent (fat, proteins, and buffering salts can protect), and process-dependent (drying, encapsulation, oxygen exposure, and storage history change tolerance).
| Environment | Typical pH range (approx.) | Why it matters |
|---|---|---|
| Acidified foods, beverages | ~3–4 | Long exposure, organic acids, and oxygen can dominate loss |
| Stomach | ~1.5–3 | Fast kill risk, pepsin and ionic strength add stress |
| Small intestine | ~6–7.5 | Bile and enzymes can be more limiting than pH alone |
| Colon | ~5.5–7 | Competition and metabolites shape persistence |
How do you design a pH stability study for probiotics?
Design a pH stability study for probiotics by fixing the question first, for example “survival during 30 minutes at pH 2” or “stability in a beverage at pH 3.5 for 4 weeks”, then standardise everything else. The goal is a reproducible protocol that separates pH effects from matrix and handling effects.
- Select strains and format: single strains vs blends, freeze-dried vs liquid, encapsulated vs unprotected, and the real product matrix where possible.
- Choose pH points and buffers: include realistic steps (for example pH 2, 3, 4, 6.5, 7.5). Use buffers with known capacity and report composition.
- Define exposure conditions: time, temperature, mixing, and atmosphere (aerobic vs anaerobic) must match intended conditions.
- Controls: time-zero, neutral pH control, matrix-only control, and a process control for neutralisation and plating recovery.
- Replicates and acceptance criteria: predefine pass/fail thresholds, recovery expectations, and how you will handle injured cells.
- Documentation: record pH at start and end, calibration logs, and exact neutralisation steps for auditability.
Which lab methods are used to measure probiotic survival at different pH?
The best method depends on whether you need “culturable cells” or “intact, viable cells”. For featured snippet purposes, the core options are CFU plate counts, flow cytometry with viability dyes, qPCR with PMA/EMA, and metabolic readouts. Using two orthogonal methods often resolves disagreements caused by injury or clumping.
Common methods and when to use them
- Plate counts (CFU): measures culturable survivors, widely accepted, but underestimates injured or VBNC cells and is sensitive to clumping and selective media.
- Flow cytometry: fast, can separate intact vs damaged membranes with dyes, but needs careful gating, controls, and matrix clean-up.
- qPCR + PMA/EMA: estimates “intact cell” DNA signal, useful in complex matrices, but dye penetration and dead-cell DNA carryover can bias results.
- ATP/respiration assays: rapid screening signal, but can be confounded by stress-induced metabolic slowdown and matrix interference.
Across all methods, neutralise acidity before measurement, validate that the neutraliser does not itself reduce viability, and standardise sample dispersion (for example mild surfactant, controlled vortexing) to reduce count artefacts.
How do you simulate gastric and intestinal conditions when testing pH stability?
Simulating GI conditions means testing pH together with the other stressors that co-occur in vivo, especially enzymes and bile. A typical workflow uses simulated gastric fluid testing (acid plus pepsin, relevant ionic strength) followed by simulated intestinal fluid (near-neutral pH plus pancreatin and bile salts). Sequential exposure is critical because acid injury can increase bile sensitivity.
Static tests are useful for quick ranking, but they can miss time-dependent effects and matrix buffering. More biorelevant approaches include staged digestion (mouth to stomach to small intestine) and then colonic fermentation to see whether survivors remain active in a complex microbial ecosystem. For B2B R&D, this helps connect an acid tolerance assay to downstream performance, such as metabolic activity and interactions with resident microbiota.
What common mistakes can skew probiotic pH stability results, and how do you fix them?
Most failures in pH stability testing come from uncontrolled chemistry and handling bias, not the strain itself. Fixes are usually procedural: measure pH over time, validate neutralisation, and control oxygen and dispersion. Building these checks into the protocol improves comparability across projects and sites.
- pH drift: verify pH at start and end, increase buffer capacity, and account for matrix buffering.
- Carryover acidity: neutralise immediately at sampling, confirm neutral pH before plating or staining.
- Osmolarity and salt effects: match ionic strength across pH points, avoid changing more than one variable at once.
- Clumping: standardise dispersion and report it, otherwise CFU can look artificially low.
- Oxygen exposure: minimise headspace, use an appropriate atmosphere for oxygen-sensitive strains.
- Neutraliser toxicity: qualify the neutraliser with a spike-and-recovery control.
- Plating bias: use suitable media, incubation conditions, and confirm detection limits for low survivors.
How Cryptobiotix helps with testing probiotic stability across different pH conditions?
We support teams that need defensible, decision-ready data on probiotic stability across pH, from early screening through GI-relevant validation. Using our SIFR® technology and modular gastrointestinal simulation, we help you connect pH survival to downstream microbiome behaviour and mechanism-oriented outputs.
- Study design support for pH points, exposure timing, controls, and acceptance criteria, aligned to your R&D or regulatory questions
- Sequential digestion and fermentation workflows to link pH stability of probiotics to activity in complex gut ecosystems
- Options across sectors and use cases described on our applications page
- Clear documentation and rationale aligned with our approach to scientific evidence
If you want to scope a protocol or compare candidate strains and formulations, contact us to discuss your study objectives and timelines.
FAQ
What is the minimum set of pH points for a screening study?
A practical minimum is one strong acid point (gastric-relevant), one mid-acid point (acidified product-relevant), and one near-neutral point as a control. Add intermediate points when you need a dose-response style curve for pH stress.
Should you report results as CFU, log reduction, or percentage survival?
Report CFU (or equivalent) with the calculation method, plus a normalised metric such as log change versus time-zero. This keeps results comparable across batches and starting titres.
How long should an acid tolerance assay run?
Use exposure times that reflect the scenario you are modelling, short for gastric transit and longer for product shelf-life stress. The key is to justify the time choice and keep it consistent across candidates.